Setting up a laptop-only home office can quickly lead to neck pain, cramped wrists, or sore eyes, especially if you’re spending 8+ hours a day working without the right ergonomic setup. Unlike desktop setups, laptops combine screen and keyboard in a fixed position that often forces poor posture habits. This article walks you through practical, detailed steps to create a laptop-only home office that supports your body, reduces discomfort, and lets you work efficiently without the usual aches and strains.
Why Ergonomics Matter for Laptop-Only Workspaces
While laptops are convenient and portable, their all-in-one design often compromises ergonomic principles: the screen height is too low, and the keyboard is too close to your body, leading to slouching and wrist strain. Over an entire workday, even minor misalignments in posture can cause cumulative musculoskeletal problems. Understanding adjustable fit, pressure distribution, and alignment will help you avoid these issues.
How to Set Up Your Laptop-Only Home Office Ergonomically
1. Prioritize Screen Height and Distance
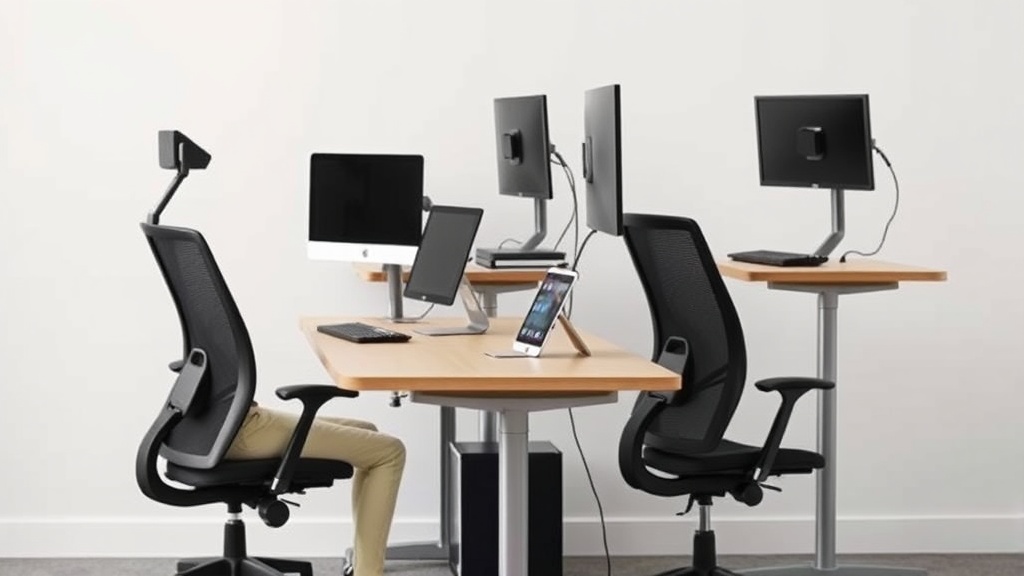
Your laptop screen ideally should be at eye level and about an arm’s length away to keep your neck neutral. Since laptops have built-in screens, achieving this usually requires adding external accessories:
- Use a laptop stand or riser to elevate your laptop screen. The top of the screen should be roughly at or slightly below eye level to avoid straining your neck.
- Maintain a viewing distance between 20 to 30 inches to reduce eye strain. If space is limited, raise your screen higher and adjust your chair or backrest accordingly.
2. Add a Separate Keyboard and Mouse for Better Typing Posture
Using the built-in keyboard and trackpad forces your laptop to stay low, compromising screen height. To fix this:
- Invest in an external keyboard and mouse. This lets you place the input devices at a comfortable height, freeing you to raise the laptop screen.
- Adjust keyboard placement so your elbows are close to your sides and bent at 90°–100°, your wrists remain straight, and your hands hover lightly over the keys.
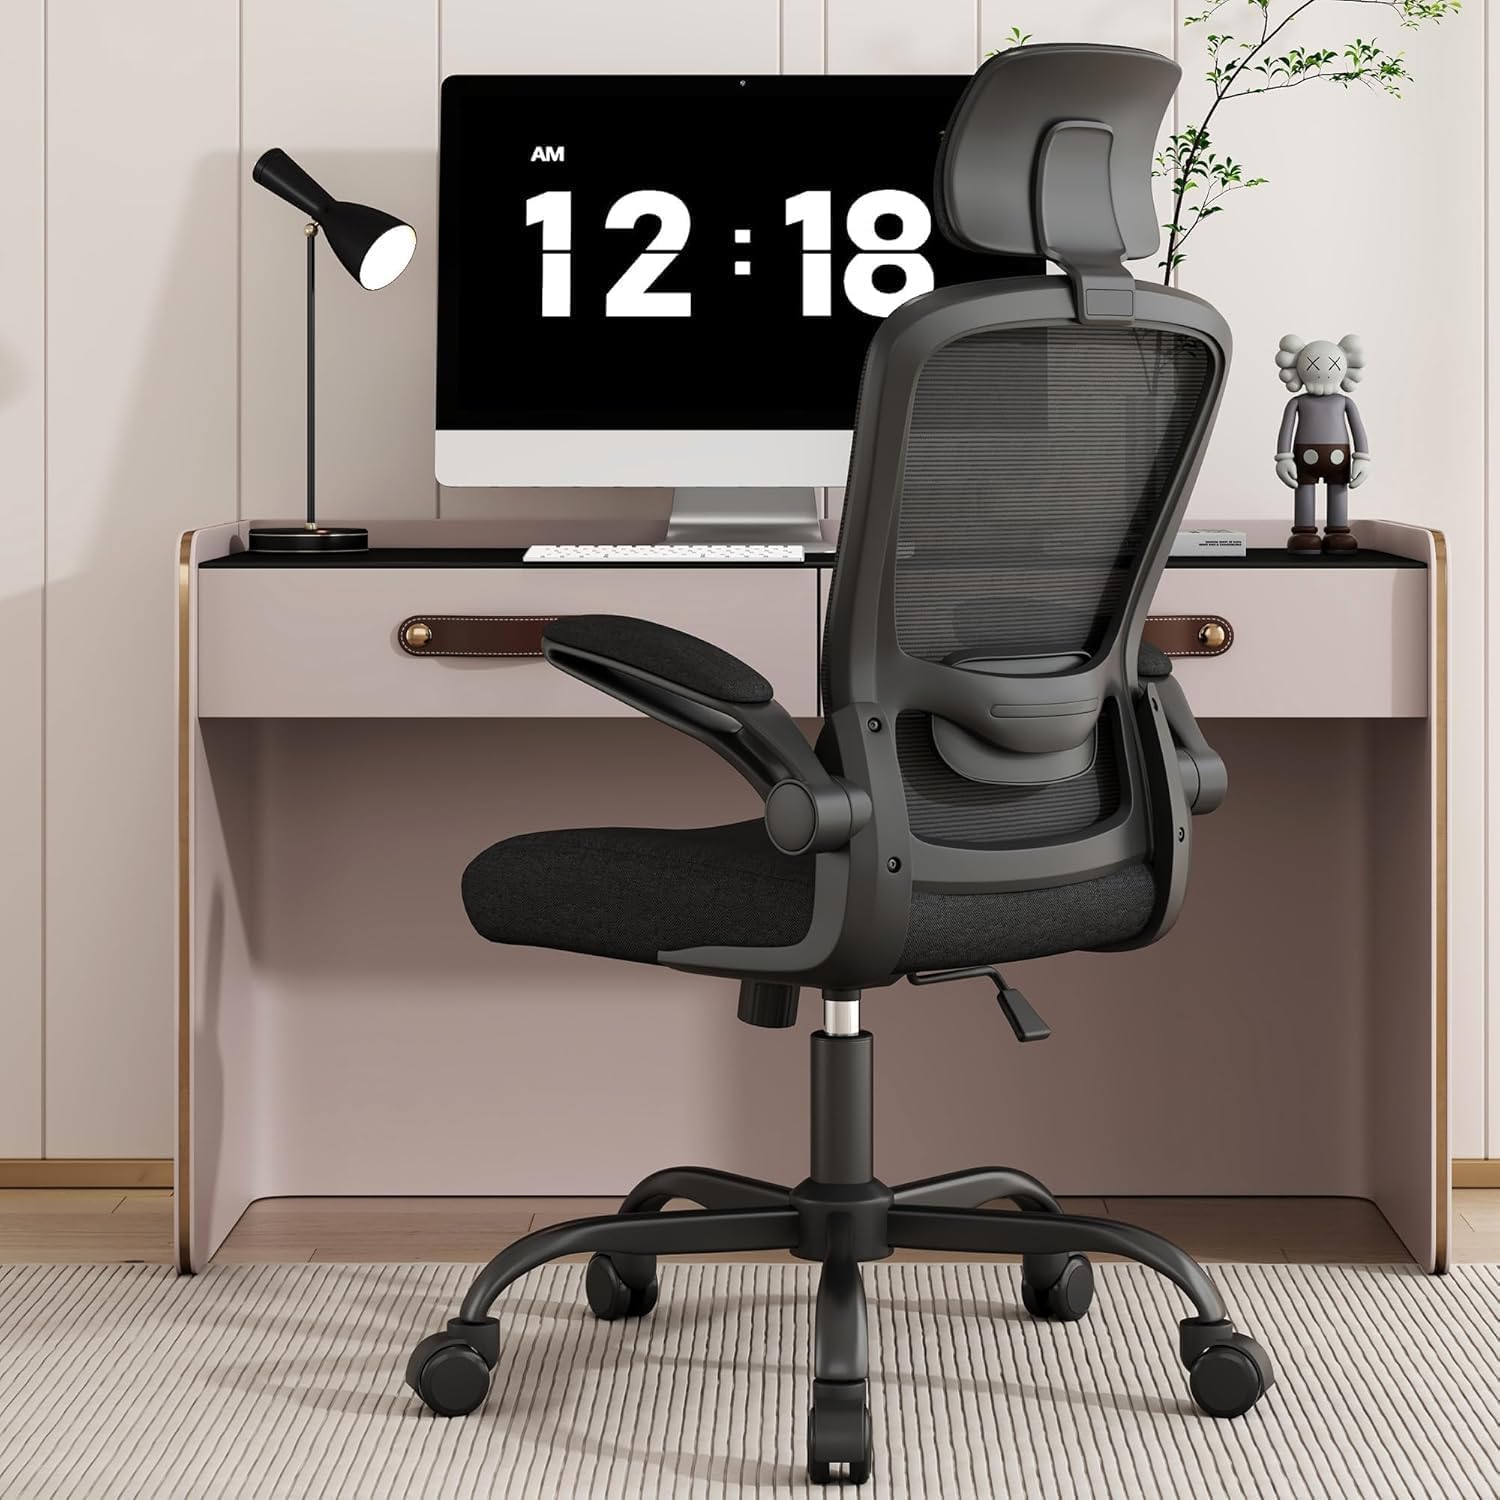
3. Choose an Adjustable Chair with Good Lumbar Support
Spending 8+ hours seated makes chair fit essential. Pay close attention to:
- Seat depth adjustment: The chair’s seat should support your thighs fully without pressing behind your knees. Aim for 1.5 to 3 inches of space between the back of your knees and the seat edge.
- Lumbar support adjustability: The lower back support should be adjustable up/down and in/out to fit the curve of your spine.
- Armrest 4D travel: Armrests that adjust in height, width, depth, and angle prevent shoulder elevation or slumping while typing.
The chair is your main interface with the workspace, so invest time in setting it up correctly.
4. Optimize Desk and Chair Height for Neutral Wrists and Shoulders
- Your desk height or surface should allow your forearms to rest parallel to the ground or slanting slightly downward.
- Chair height is usually adjusted to get feet flat on the floor or a footrest.
- Neutral shoulders: Avoid reaching forward or shrugging your shoulders; your arms should rest comfortably by your sides.
5. Use Pressure-Mapping Principles for Seating Comfort
Pressure mapping is a technique used in professional ergonomic assessments to identify how your body weight distributes across the chair and seat. For home use:
- Ensure your chair cushions don’t create pressure points under thighs or sit bones.
- Select ergonomic chairs with memory foam or gel padding to spread pressure evenly.
- Avoid hard edges on seat fronts that cut into your legs.
6. Incorporate Movement and Micro-Breaks to Combat Static Postures
No ergonomic setup prevents all strain over hours of static posture. Add:
- 5-minute breaks every hour for standing, stretching, or walking.
- Alternate between sitting and standing if you have a sit-stand desk.
- Wrist and neck stretches during pauses to relieve tension.
Comparison Table: Key Features for Laptop-Only Ergonomic Setups
| Feature | Ideal Specification | Why It Matters | Common Misconceptions |
|---|---|---|---|
| Screen Height | Top of screen at eye level (±1 inch) | Prevents neck bending; reduces strain | Laptop screens are always fine on desk |
| Keyboard & Mouse Setup | External, positioned for neutral wrists | Prevents wrist extension and shoulder reach | Built-in keyboard is “good enough” |
| Seat Depth | 1.5–3 inches clearance behind knees | Supports thighs without pressure | Deepest seat is most comfortable |
| Lumbar Support Range | Adjustable in height and depth | Matches individual spinal curves | Fixed lumbar support suits all |
| Armrest Adjustability | 4D travel (height, width, depth, angle) | Keeps shoulders relaxed and wrists supported | Armrests are optional extras |
| Viewing Distance | 20–30 inches from eyes | Reduces eye strain and supports focus | Closer is always better for detail |
Common Pitfalls to Avoid in Laptop-Only Ergonomic Setups
- Not using an external keyboard/mouse: This restricts your ability to raise your screen and causes you to hunch over.
- Using a chair without adjustable seat depth: You either get thigh compression or poor back support, leading to discomfort.
- Ignoring armrest adjustability: Too rigid or missing armrests cause shoulder tension after hours.
- Setting screen height based on comfort in short tasks: What feels fine for 30 minutes can become painful after a full day.
- Overlooking lighting and glare: Position your setup to avoid screen reflections and harsh overhead light, which aggravate eye strain.
Final Takeaway
Ergonomics in a laptop-only home office is about thoughtful adjustments and investing in key peripherals — a laptop stand, external input devices, and a well-fitted chair. Adjusting for measured fit—seat depth, lumbar support, and armrest range—plus attention to screen height and viewing distance is essential for sustainable comfort. Remember, marketing photos rarely reflect the realities of 8 hours of continuous work. Measure your body, adjust your workspace, and move regularly.
Frequently Asked Questions
Q: Can I just use a stack of books to raise my laptop screen?
A: Temporarily yes, but stacks are unstable and height can’t be fine-tuned precisely. Adjustable laptop stands allow better fit and durability.
Q: Is a gel cushion necessary for long hours of sitting?
A: Gel cushions help distribute pressure evenly and reduce hot spots, which can improve comfort during extended sitting sessions.
Q: How often should I change my posture or take breaks?
A: Aim for a 5-minute break every hour, with minor position shifts every 20–30 minutes to reduce static muscle fatigue.
By focusing on measured ergonomics rather than gimmicks, you’ll build a laptop-only home office setup that keeps you comfortable, focused, and productive throughout the day.