
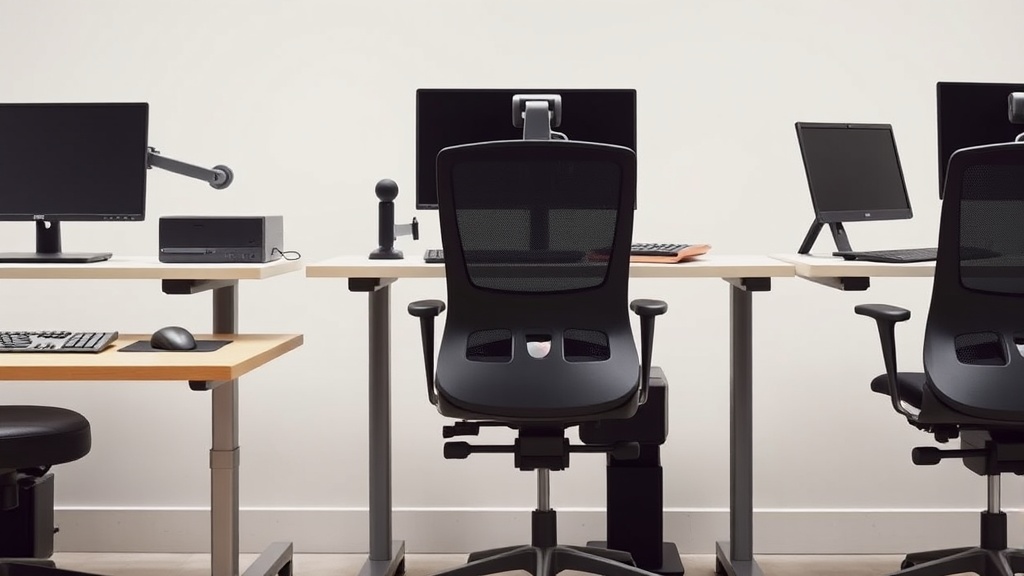
If you spend long hours at your desk, you know how quickly discomfort can set in—from aching lower backs to stiff shoulders and tired eyes. The main culprit? An ill-fitting workspace that doesn’t support your body’s needs over an 8-hour workday. Setting up an ergonomic workspace with Chairwise products isn’t just about avoiding pain; it’s about maximizing comfort and focus through carefully measured fit and smart adjustments. This guide will walk you through essential tips for creating an ergonomic setup that truly works for your body, moving beyond marketing buzz to what actually feels good by day’s end.
What Is an Ergonomic Workspace?
An ergonomic workspace is designed to optimize comfort, efficiency, and well-being while minimizing strain on your body. This involves selecting and configuring furniture and accessories precisely to your body dimensions and work habits. Key components include an adjustable chair that fits your body, a desk at the right height, monitor placement to reduce eye and neck strain, and peripherals positioned for natural hand and wrist posture.
How Chairwise Products Support Ergonomic Setup
Chairwise chairs and accessories focus on key ergonomic features like seat depth, lumbar support adjustability, and armrest 4D travel (height, width, depth, and pivot). These adjustments matter because each body is different: A chair that feels fine at first might become uncomfortable if, for example, the seat is too deep, causing pressure behind the knees, or if the lumbar support doesn’t align with your spine’s natural curve.
Pressure-mapped seating technologies used in some Chairwise offerings help illustrate how your body weight is distributed when seated, identifying pressure points that lead to discomfort over time. Armrests that move not just up and down but also side to side and forward and backward allow your arms to stay relaxed during typing or mouse use, preventing shoulder tension.
Step-by-Step: Setting Up Your Chairwise Ergonomic Workspace
1. Measure Your Body Dimensions Precisely
- Seat depth: Measure from the back of your buttocks to the back of your knee. Your chair seat should allow about 2-3 inches of clearance behind your knees to avoid pressure and promote good circulation.
- Seat height: While sitting, your feet should rest flat on the floor or a footrest with knees at a roughly 90-degree angle.
- Lumbar curve: Identify the natural inward curve of your lower back where lumbar support should be placed.
- Arm length and shoulder width: For armrest positioning, measure from your shoulder tip to your elbow and note your preferred working posture.
2. Adjust the Chair Seat Depth and Height
Using your measurements, set the seat depth so your thighs are fully supported without pressing the back of your knees. Adjust seat height so feet are flat on the floor and hips are at or slightly above knee level. This promotes circulation and reduces fatigue.
3. Position the Lumbar Support
Adjust lumbar support so it fits snugly within the inward curve of your lower spine. This helps maintain natural posture and reduces slouching. The best Chairwise models offer a broad lumbar range adjustment, allowing for precise placement.
4. Calibrate Armrest 4D Travel
Adjust armrests in four dimensions:
- Height: Align with your lower arm when elbows are at a 90-degree angle.
- Width: Position so your elbows remain close but not cramped.
- Depth (forward/back): So wrists rest comfortably with no excessive reach.
- Pivot (angle): To keep forearms relaxed and shoulders down.
Properly adjusted armrests prevent shoulder shrugging and wrist strain, common causes of discomfort.
5. Arrange Desk, Monitor, and Accessories
- Desk height: Ideally, at elbow level when seated.
- Monitor: Top of screen at or slightly below eye level, about 20-30 inches away.
- Keyboard/mouse: Positioned to allow relaxed shoulders and wrists.
- Keep frequently used items within easy reach to avoid repetitive overstretching.
6. Use Pressure Mapping Insights
If available through your Chairwise seating system or accessories, use pressure-mapping data to fine-tune your setup. Look for pressure imbalances such as hotspots under thighs or sitting bones that can indicate poor fit. Adjust seat cushions or chair recline to redistribute weight evenly.
Comparison Table: Chairwise Ergonomic Features and Adjustability
| Feature | Why It Matters | Chairwise Product Range | Ideal Use Case | Common Trade-Offs |
|---|---|---|---|---|
| Seat Depth Adjustability | Prevents knee pressure, promotes circulation | Standard to advanced models | Prolonged sitting, sensitive circulation | More moving parts can complicate settings |
| Lumbar Support Range | Maintains natural spine curve | Adjustable lumbar frames | Back pain prevention, posture support | Overly firm support may cause discomfort |
| Armrest 4D Travel | Reduces shoulder and wrist tension | Most mid to high-end chairs | Intensive typing or mouse work | Incorrect adjustment can worsen strain |
| Pressure-Mapped Cushion | Visualizes weight distribution | Available in select chairs | Customizing cushion or posture changes | Additional cost, requires learning curve |
| Headrest and Recline | Supports neck and induces microbreaks | Optional in ergonomic series | Neck support, dynamic sitting | Adds to chair bulk and price |
When to Reassess Your Setup
Even a well-tuned ergonomic workspace should be revisited regularly, especially if:
- You feel new or shifting discomfort during or after workdays.
- Your body posture or working habits change.
- You swap desks, monitors, or input devices.
- Your Chairwise chair’s adjustments feel harder to set or maintain.
Regular reassessment and tweaks aligned with your own feedback and any measurable data like pressure maps help sustain comfort.
Common Pitfalls and How to Avoid Them
- Ignoring seat depth: Many users focus on seat height but forget depth, which can cause pressure points or poor posture over 8 hours.
- Over-relying on initial comfort: Spending 10 minutes testing a chair is rarely a good indicator of 8-hour comfort—use incremental adjustments and real use trials.
- Incorrect armrest adjustment: Armrests that are too high cause shrugging; too low invite rounding of shoulders. Use your body’s feedback.
- Skipping lumbar adjustment: Many chairs have lumbar support, but it’s often ignored or set too high/low.
- Poor monitor placement: Even with a perfect chair setup, neck and eye strain from bad monitor height and distance negate benefits.
Frequently Asked Questions
Q: How long should it take to set up an ergonomic workspace properly?
A: Allow 30-60 minutes for an initial setup, including measuring, adjusting, and testing comfort. Fine-tuning should continue over days or weeks.
Q: Can I use a Chairwise ergonomic chair with any desk?
A: Yes, but ideally your desk height complements your chair adjustments. Adjustable-height desks are best for ergonomic pairing.
Q: Why does my chair feel comfy at first but uncomfortable after a few hours?
A: Initial comfort is often due to a lack of prolonged pressure points. Over time, insufficient support or poor seat dimensions cause discomfort, emphasizing the importance of proper fit.
By focusing on measured fit, adjustability, and pressure distribution rather than marketing buzzwords, you can create a truly comfortable, fatigue-resistant ergonomic workspace with Chairwise products—one that feels good not just for a few minutes but for every hour of your workday.
Related reading
- How to Set Up an Ergonomic Standing Desk at Home
- 23. Desk height vs keyboard tray height: measure this, not that
- Customizing Chairwise Chairs for Personalized Comfort and Support
- Ergonomic Chair Features That Support Spinal Health
- Monitor Arm Positioning Tips to Avoid Neck and Eye Strain
Our picks worth a closer look
- Massage Office Chair, 500LBS Ergonomic Rocking Executive Desk Chairs with 4 PoinCheck on Amazon → — see current price and specs.
- Massage Office Chair with Foot Rest,6-Point Vibration & Heat Executive Office ChCheck on Amazon → — see current price and specs.
- Massage Office Chair with Foot Rest,6 Points Vibration&Heat Executive Office ChaCheck on Amazon → — see current price and specs.
- 750lbs Big and Tall Office Chair with Wide Thick Seat Cushion,Ergonomic Mesh OffCheck on Amazon → — see current price and specs.
- NOUHAUS +Posture Ergonomic Rolling Office ChairCheck on Amazon → — see current price and specs.