
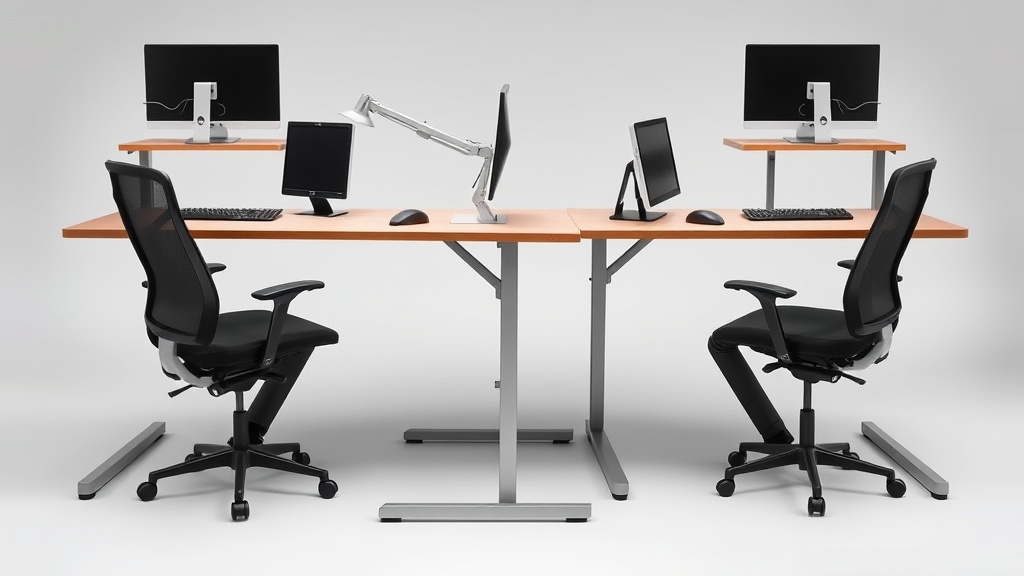
Guide to Proper Keyboard and Mouse Placement for Comfort
If you spend long hours at your desk, you’ve likely experienced wrist aches, shoulder tension, or hand fatigue by the afternoon. The root cause often comes down to improper keyboard and mouse placement — an overlooked element that can undermine even the best ergonomic chair or desk setup. This guide breaks down how to position your keyboard and mouse correctly so your arms, wrists, and shoulders stay comfortable through an entire 8-hour workday, without the marketing hype and vague advice.
See also: Monitor Arm Positioning Tips to Avoid Neck and Eye Strain
What Proper Keyboard and Mouse Placement Means
Proper placement isn’t just about aesthetics or “keeping things tidy.” It’s about ensuring your upper body rests in a neutral, relaxed position that limits strain and tissue compression over extended periods. Key concepts to understand:
- Neutral Wrist Position: Wrists should not bend up, down, or sideways while typing or mousing.
- Arm Support: Forearms should have stable support, promoting a 90-degree or slightly greater elbow angle.
- Shoulder Relaxation: Shoulders should hang naturally without hunching or reaching forward.
- Distance and Height: The keyboard and mouse should be close enough to prevent overreaching, but far enough to avoid crowding and cramping.
Achieving these requires proper measurements, adjustments, and sometimes rethinking the placement of other components like your desk height, chair armrests, or monitor position.
How to Set Up Your Keyboard and Mouse for Comfort: Step by Step
Step 1: Measure Your Ideal Desk Height and Chair Position
Start by adjusting your chair height so your feet rest flat on the ground. Your knees should be roughly level with your hips. Now, with your arms relaxed at your sides, bend your elbows to about 90 degrees. This is the height at which your keyboard and mouse should rest to keep wrists neutral.
If your desk is fixed and too high or low relative to this measurement, consider:
- A sit-stand desk
- Keyboard and mouse trays with adjustable height
- An adjustable office chair with good lumbar support
Step 2: Position Your Keyboard
-
Distance: Your keyboard should be close enough to your torso that your elbows stay by your sides. Ideally, keep it 2-4 inches from the desk edge to allow your wrists to float or rest lightly without hitting a sharp edge.
-
Height: The keyboard should be at or slightly below elbow height when seated, allowing wrists to remain straight or angled slightly downward.
-
Tilt: Use a slight negative tilt (front edge higher than back) to avoid wrist extension. Many keyboards can flip feet up or down — test what feels most neutral.
-
Centering: Align the keyboard center with your body midline or your monitor’s center if you look straight ahead frequently.
Step 3: Position Your Mouse
-
Same Height as Keyboard: The mouse should rest at the same height or slightly below the keyboard surface to prevent wrist deviations.
-
Close to Keyboard: Place the mouse right next to the keyboard’s right or left side (whichever hand you use) to minimize reaching. Ideally, keep the mouse within a 6-8 inch range from your torso.
-
Grip and Sensitivity: Choose a mouse shape that fits your hand size. Adjust pointer speed so minimal arm movement is needed.
-
Mouse Pad and Support: Use a mouse pad with wrist support or gel pad only if it helps maintain a neutral wrist. Pressure mapping studies show this varies by individual.
Why Fit Matters: Adjustability, Pressure Mapping, and Real-World Comfort
The devil is in the details—dimensions like seat depth and armrest adjustability influence your arm position and indirectly the keyboard/mouse placement. For example:
-
Seat Depth: If your chair doesn’t support your thighs properly, you may slide forward or slump, causing you to reach more awkwardly for peripherals.
-
Armrest 4D Travel: Adjustable armrests let you closer align forearms for wrist neutrality. Fixed armrests too high/low cause shoulder elevation or arm extension.
-
Pressure Mapping Insights: Laboratory pressure mapping of hand and wrist contact zones reveals that even a small tilt or improper distance can increase focal pressure in the wrist, triggering discomfort after hours.
Marketing copy often showcases a few ideal positions but doesn’t convey the full range of adjustability needed to fit diverse body types or 8+ hours of sustained use. Comfort is an outcome of iterative adjustment and honest testing.
Common Setup Patterns and Their Trade-offs
| Setup Element | Comfort Pros | Comfort Cons | Best For | Not Ideal For |
|---|---|---|---|---|
| Keyboard Flat on Desk | Simple, wrist straight | Can cause wrist extension; edge pressure | General use, short sessions | Long hours, wrist issues |
| Keyboard with Negative Tilt | Promotes wrist in neutral or slight flexion | Some users feel strain on forearm if too steep | Typing-intensive tasks | Users with limited desk height |
| Mouse Next to Keyboard | Minimizes arm reach | Desk clutter if space tight | Small desks, minimal arm movement | Large desks, multi-mouse setups |
| Mouse Further Away | Frees desk space, encourages arm movement | Reaches may cause shoulder strain | Users with adjustable desks | Users with limited shoulder mobility |
| Wrist Guard Pad Under Keyboard/Mouse | Reduces pressure points, supports wrist | Can cause wrist extension if too thick | Known wrist pain sufferers | Some users may feel clumsy |
| Adjustable Keyboard Tray | Custom height, tilt | May reduce desk space | Multi-user workstations | Fixed desks with no tray |
Tips to Avoid Common Pitfalls
-
Don’t Trust Manufacturer Angles Blindly: What’s marketed as “ergonomic” tilt or height may not work for your unique body dimensions. Measure and test.
-
Avoid Overreaching: If you find yourself stretching your arm for the mouse or keyboard, adjust placement or your chair. Overreach is a main cause of shoulder and neck pain.
-
Wrist Rest Usage: Use wrist rests to rest between typing, not as a support while typing. Continuous pressure on soft tissue can restrict blood flow.
-
Test Over Time: Comfort is something you discover over multiple sessions, not instantly. Make adjustments slowly and note any discomfort patterns.
Frequently Asked Questions
Q: Should my keyboard be flush with the desk edge or pushed back?
A: Ideally, keep the keyboard about 2-4 inches from the desk edge so your wrists aren’t crushed against the edge, allowing some wiggle room and neutral wrist alignment.
Q: Is it better to use a mouse pad with wrist support?
A: It depends on your comfort. Some find wrist-supporting pads relieve pressure; others develop wrist extension and discomfort. Test what feels best for sustained use.
Q: How often should I adjust my keyboard and mouse setup?
A: Reassess every few weeks or anytime you change seating, desk height, or experience discomfort. Ergonomics is an ongoing process, not a one-and-done setup.
Getting your keyboard and mouse positioned right lays the foundation for daily comfort, sustained productivity, and injury prevention. Spend time fitting, measuring, and adjusting—your wrists, shoulders, and back will thank you long term.
Related reading
- How to Prevent Neck Pain with Proper Monitor Placement
- How to Design an Ergonomic Workspace for Remote Employees
- Top Keyboards for Comfortable Typing and Reduced Wrist Strain
- How to Set Up an Ergonomic Standing Desk at Home
- Ergonomic Tips for Using External Keyboards with Laptops
Our picks worth a closer look
- AOC 2.4GHz Ergonomic Mouse, Wireless Bluetooth Vertical Mouse for Work, 4800 DPICheck on Amazon → — see current price and specs.
- Arteck Ergonomic Keyboard with Cushioned Wrist Palm Rest, Multi-Device Wireless Check on Amazon → — see current price and specs.
- FLEXISPOT Standing Desk Converter 36’ Desk Riser, Height Adjustable Desktop RiseCheck on Amazon → — see current price and specs.
- Height Adjustable Standing Desk Converter,Computer Keyboard Stand for Desktop,KeCheck on Amazon → — see current price and specs.
- Kinesis Freestyle2 VIP™ Accessory Features AC820-BLK (Keyboard sold Separately)Check on Amazon → — see current price and specs.