Customizing Chairwise Chairs for Personalized Comfort and Support
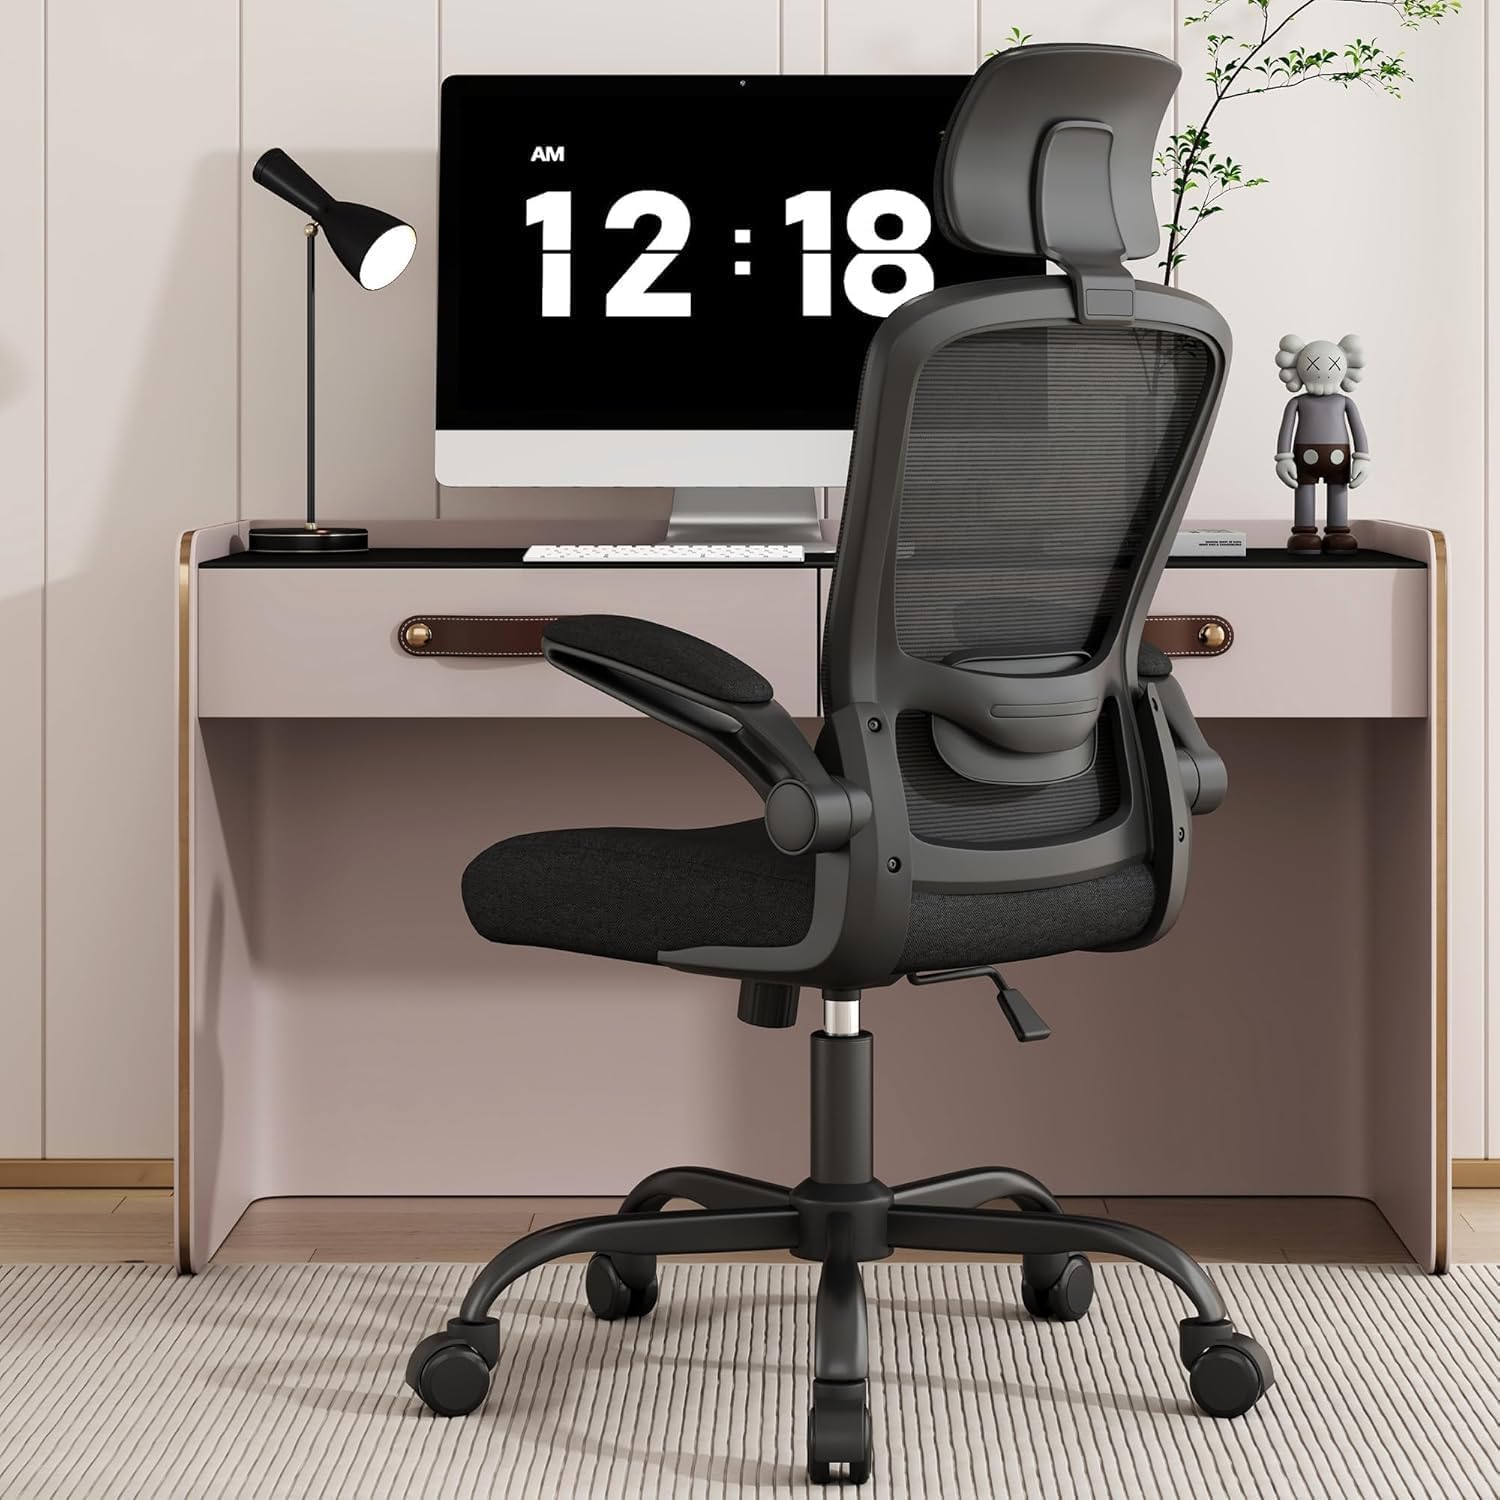
If you spend long hours at your desk, you know that even the best ergonomic chair can feel uncomfortable after a few hours if it’s not dialed in just right. The problem isn’t just the chair itself — it’s how well it fits your body and work style, especially when you’re sitting eight or more hours a day. In this article, we’ll walk through how to customize a Chairwise ergonomic chair to ensure your seat depth, lumbar support, and armrest adjustments truly work for your body, reducing strain and supporting good posture through the typical workday grind.
What Customization Means for Ergonomic Chairs
Customizing an ergonomic chair goes beyond flipping levers and hoping for the best. It means tailoring the chair’s adjustable features so that it aligns closely with your body dimensions and sitting habits. Key adjustable points to focus on include:
- Seat depth: How far the seat pan extends beneath your thighs
- Lumbar support: The lower-back support’s position and intensity
- Armrests: Their height, width, depth, and pivot range (aka 4D adjustability)
These features, when properly set, reduce pressure on nerves and blood vessels, prevent slouching, and promote a healthier sitting posture under sustained use.
See also: Choosing the Best Ergonomic Office Chair for Lower Back Support
How to Customize Your Chairwise Chair for Personalized Fit
Step 1: Adjust Seat Depth for Thigh Support
Seat depth is critical but often overlooked. A seat that is too deep presses into the back of your knees, cutting off circulation, while a seat that’s too shallow fails to support your thighs fully.
- Sit on your chair with your back against the backrest.
- Slide the seat pan forward or backward to allow about 2 to 3 inches (about two fingers’ width) between the back of your knees and the seat edge.
- If the chair features a sliding seat pan lock, secure it so the seat depth remains stable during use.
Step 2: Optimize Lumbar Support Position and Firmness
Lumbar support should fill the natural inward curve of your lower back, offering firm but comfortable pressure.
- Identify where your lumbar spine naturally curves inward.
- Use the vertical adjustability to move the lumbar support up or down to that spot.
- Adjust firmness or depth if available, aiming for enough pressure to maintain curvature without discomfort or feeling pushed forward.
Step 3: Fine-Tune Armrests with 4D Adjustability
Armrests that don’t fit your body or desk setup can cause shoulder tension and wrist strain, especially during keyboard and mouse use.
- Set armrest height to where your shoulders can relax and elbows rest at roughly 90 degrees.
- Adjust width so your elbows don’t flare out or squeeze against the sides.
- Move armrests forward or backward (depth) to support your forearms evenly, ensuring wrists stay in neutral alignment.
- Pivot the armrest pads (or “angle adjustment”) to match your natural arm and hand position around the keyboard and mouse.
Step 4: Check and Adjust Backrest Recline and Tilt Lock
Though not always customizable to each user, backrest tilt and recline contribute to active sitting and pressure redistribution.
- Adjust recline tension so sitting back requires a small but manageable effort — too loose may lack support, too tight can be restrictive.
- Lock the tilt at angles you use for work and breaks to encourage dynamic posture changes throughout the day.
Why Pressure-Mapping Insights Matter in Customization
Beyond adjusting visible features, pressure-mapping tools can reveal how your body interfaces with the chair over long periods. Common pain points like ischial tuberosities (sit bones), thighs, and the lower back often show areas of high pressure which can translate to discomfort or numbness.
Using pressure-map feedback (available from some ergonomic assessments or dedicated clinics) helps confirm if your seat depth and cushion density are right or if lumbar support needs calibration. This real-world data complements subjective comfort assessments, providing a more objective path to adjustment.
Marketing Copy vs. 8 Hours/Day Reality
Many chair marketing materials highlight features like “advanced lumbar support” or “unmatched adjustability,” but do not always address the practical limits of these claims:
| Feature | Marketing Promise | Real Workday Experience | What to Do |
|---|---|---|---|
| Seat Depth Adjustability | Fits all body sizes, endlessly customizable | May be limited by max/min seat depth | Measure thigh length and test seat range |
| Lumbar Support | Ergonomic, memory foam, dynamic support | Support intensity may not suit your lumbar curve | Adjust position incrementally; consider external cushion if needed |
| Armrest 4D Travel | Supports all postures, perfect positioning | Some armrests still limited in adjustment range | Test full 4D range before purchase or adjust carefully post-purchase |
| Recline and Tilt Lock | Promotes dynamic sitting | Overuse of tilt lock may cause stiffness | Use tilt lock sparingly and frequently shift position |
Understanding these differences helps keep expectations realistic and guides practical customization that improves actual sitting comfort, rather than just relying on marketing jargon.
Common Pitfalls in Chair Customization
- Not measuring yourself: Too often, users don’t measure key body dimensions like thigh length or shoulder width before adjusting the chair, leading to mismatched settings.
- Ignoring armrest positioning: Many skip armrest width and pivot, which are essential for wrist and shoulder comfort.
- Over-reliance on one setting: For example, setting lumbar support too high or low on the spine reduces its effectiveness.
- Not revisiting settings: Chairs adjust, cushions compress, and bodies change over time — periodic reevaluation is necessary.
By avoiding these pitfalls, you maintain a chair customized for your evolving needs.
Summary
Customizing a Chairwise ergonomic chair requires attention to seat depth, lumbar support, and armrest 4D adjustability, with an awareness of realistic adjustment ranges versus marketing claims. Use precise measurements of your body and pressure-mapping feedback if possible. Fine-tune incrementally, and revisit settings regularly for sustained comfort and support during your full workday.
Frequently Asked Questions
Q: How often should I re-adjust my ergonomic chair settings?
A: Ideally, you should re-check adjustments at least every 3 to 6 months or whenever you notice discomfort or changes in your sitting habits.
Q: What if my chair’s seat depth isn’t adjustable enough?
A: Consider using a seat cushion or pad to fill extra space or add slight lift; conversely, if too deep, a lumbar support cushion can prevent pressure behind knees.
Q: Can customizing my chair eliminate all sitting discomfort?
A: While good customizations greatly reduce discomfort and risk of strain, it’s also important to take regular breaks, move around, and vary posture throughout the day.
Related reading
- Tips for Setting Up an Ergonomic Workspace with Chairwise Products
- 43. Body types and ergonomic chairs: the 8 reference bodies explained
- Ergonomic Chair Adjustments for Users of Different Heights
- Ergonomic Office Chairs with Breathable Mesh for Comfort
- Choosing Chairwise Chairs to Prevent Neck and Shoulder Pain