
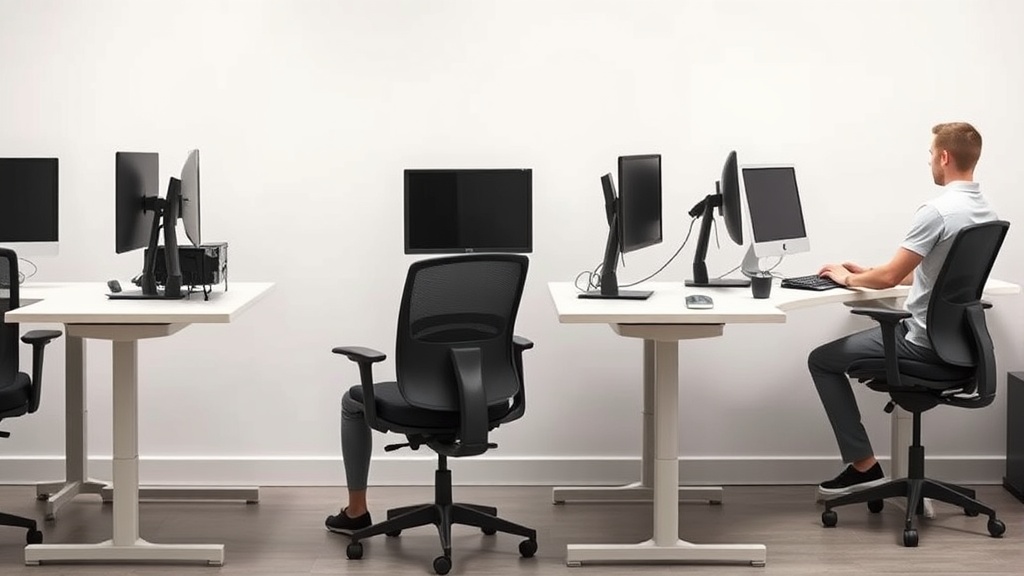
You spend at least 8 hours a day at your desk. Yet, after weeks or months, you feel neck stiffness, lower back pain, or wrist discomfort, despite having what looks like a “nice ergonomic chair” or adjustable desk. The problem isn’t a single product—it’s your overall ergonomic setup. Without a clear, practical checklist that focuses on adjustability ranges, fit, and real-world comfort, temporary fixes become long-term aches. This 10-minute permanent fix checklist gets you from fidgeting to focused, with no gimmicks.
What is an ergonomic setup checklist?
An ergonomic setup checklist is a step-by-step guide to arranging your workstation—including your chair, desk, monitor, and accessories—so that your body is properly supported and aligned throughout your workday. It targets parameters like seat depth, lumbar support adjustability, armrest positioning, monitor height, and keyboard placement. Those who use random tweaks or rely on marketing buzzwords miss the nuanced differences that determine whether something feels comfortable for 30 minutes or pain-free for 8+ hours.
This checklist isn’t about buying the fanciest gear but about configuring what you have—or calibrating your next purchase—to fit your body and work style precisely.
See also: Maximizing Workspace Productivity with Chairwise Ergonomic Solutions
How it works: key principles to frame your setup
Before digging into specific steps, keep in mind these foundational ergonomic concepts:
- Measured fit matters more than “adjustable”: A chair might advertise “adjustable lumbar support,” but the range and style of that adjustment need to match your lumbar curve and torso length. Same with seat depth—if the seat pan is too long or short, it won’t support your thighs properly or will pressure the back of your knees.
- Pressure mapping matters for sustained comfort: Even if a seat looks plush or firm, discomfort can accumulate if pressure isn’t evenly distributed over your sitting bones and thighs. While you don’t need specialized pressure-mapping technology at home, this principle guides you to test how your body feels after 15 minutes and adjust as needed.
- 4D armrest adjustability equals better arm support: Armrests that adjust only in height often force your shoulders into awkward positions. Armrests with “4D travel” move in height, depth, width, and angle to support your arms during typing and mouse use without strain.
- Set up for 8-hour comfort, not 10-minute sales demos: Short trials or marketing photos rarely translate into all-day support. The goal is to systematically tweak your setup to sustain comfort and productivity throughout your workday.
The 10-Minute Permanent Fix Ergonomic Setup Checklist
1. Set your chair’s seat depth correctly
- Why it matters: Seat depth determines how well your thighs are supported without pressure behind your knees.
- How to measure: Sit back fully with your back against the lumbar support. There should be about 2-3 finger widths of space between the edge of the seat pan and the back of your knees.
- Adjust if possible: If your chair has adjustable seat depth, move the pan forward or backward until this gap is achieved. If not, consider using a thin cushion or seat pad to fine-tune fit.
2. Calibrate lumbar support within your spine’s curve range
- Why it matters: A lumbar support that is too high or low will cause you to slouch or strain your back muscles.
- How to measure: Find the natural curve of your lower back by sitting upright. Lumbar support should fill the inward curve just above your beltline.
- Adjust if possible: Move the lumbar support pad horizontally and vertically if the chair allows. If not, add a small lumbar pillow or rolled towel at the right height.
3. Set armrests to support forearms with 4D adjustability
- Why it matters: Supports your shoulders and wrists while typing or using a mouse, reducing strain.
- How to adjust:
- Height: Arms bent at about 90 degrees, shoulders relaxed.
- Width: Armrests close enough to keep elbows under shoulders, not too wide to cause hunching.
- Depth: Forearms fully rest on them without leaving a gap.
- Angle: Adjust inward or outward to support wrist neutral positioning.
- Tip: If your armrests only adjust up and down, use a separate wrist rest or desk padding to reduce stress.
4. Position your monitor at eye level to reduce neck strain
- Why it matters: Looking up or down for hours strains neck muscles.
- How to position: The top of the monitor should be roughly at or just below eye level when sitting upright. The screen should be about an arm’s length away.
- Adjust if needed: Use monitor risers, stands, or adjustable arms.
5. Align your keyboard for neutral wrist posture
- Why it matters: Avoid excessive wrist extension or ulnar deviation (bending wrist towards pinky side), major contributors to carpal tunnel or strain.
- How to position: Keyboard should be flat or slightly negative tilt (lower at front than back), centered in front of you.
- Elevate/depress: Adjust keyboard height so elbows stay at roughly 90 degrees, keeping wrists straight.
6. Use a mouse that supports a neutral wrist or adjust mouse position
- Why it matters: Repetitive mouse use with poor wrist angles causes pain.
- How to optimize: Place mouse as close as possible to keyboard, ideally on same height, and consider ergonomically shaped mice to reduce wrist bending.
7. Feet flat on floor or footrest
- Why it matters: Unsupported feet cause buttocks and thigh pressure, contributing to poor circulation.
- How to adjust: Lower seat height until feet rest comfortably flat. If seat can’t go low enough, use a footrest.
8. Check your sitting posture and take short breaks
- Why it matters: No setup is perfect; dynamic posture and movement prevent stiffness.
- How to implement: Every 30-60 minutes, stand or walk for a few minutes, stretch neck and shoulders.
9. Test and re-check after 1 hour
- Why it matters: Your body’s feedback is key to confirming or requiring adjustment.
- How to measure: Pay attention to any pressure points or discomfort and tweak settings accordingly.
10. Document your settings for repeatability or future adjustments
- Why it matters: If your chair or desk settings get changed (office cleaning, coworker use), you can quickly reset to your ideal ergonomic configuration.
| Ergonomic Element | Adjustment Range to Check | Fit Goal | Common Fixes If Off |
|---|---|---|---|
| Seat Depth | ~14-18 inches (varies by user thigh length) | 2-3 finger widths behind knee | Seat pan sliders, cushions |
| Lumbar Support Height | Adjustable within lumbar spine curve (~2-4”) | Fills inward curve mid-lumbar | Built-in adjustable pads or lumbar pillows |
| Armrest Height | Adjustable 20-30 cm from seat base | Elbows at ~90°, shoulders relaxed | Raise/lower, cushions, wrist rests |
| Armrest Width | Adjustable 15-25 cm apart | Keep elbows under shoulders | Adjust armrest width or remove armrests |
| Armrest Depth | Adjustable 3-8 cm (back/forth) | Full forearm supported | Slide armrests forward or backward |
| Armrest Angle | 0-15 degrees inward/outward | Neutral wrist alignment | Tilt armrests or add angled desk mats |
| Monitor Height | Adjustable ~ 50-70 cm from desk | Top of screen at eye level | Monitor risers or adjustable arms |
| Keyboard Height/Angle | Adjustable desk or tray height | Wrists neutral, elbows ~90° | Keyboard trays, negative tilt adjustments |
| Foot Placement | Floor or footrest | Feet flat, thighs parallel to floor | Footrests or seat height changes |
When to use this checklist
- Setting up a new workstation: Saves guesswork and helps select furniture based on measured fit, not just marketing claims.
- Re-calibrating after discomfort sets in: Instead of buying a new chair, recheck your setup systematically.
- Before upgrading gear: Use this checklist to evaluate if the new gear actually improves your fit and pressure points.
- Remote work setups: Home office setups often lag in adjustability; this checklist helps you maximize comfort with limited means.
Common pitfalls to avoid
- Relying solely on “adjustable” claims without testing the adjustment range for your body size.
- Ignoring armrest depth and angle, which cause subtle but chronic shoulder or wrist strain.
- Setting monitor height based on guesswork rather than measured eye level.
- Forgetting to test comfort after extended sitting periods.
- Not documenting your ideal settings, making repeatability impossible.
- Over-adjusting multiple parameters at once, making it difficult to identify what works.
Frequently Asked Questions
Q: How do I know if my lumbar support adjustment range is sufficient?
A: Sit upright and feel if the lumbar support fills the inward curve of your lower back without pushing too high or too low. A good adjustment range should cover about 2-4 inches of vertical movement; if not, consider an additional cushion.
Q: Is a cushion a good substitute for an adjustable seat depth?
A: A cushion can help fill gaps but doesn’t solve issues from a seat that is too long causing pressure behind the knees. It’s a temporary fix; a properly sized seat pan or an adjustable-depth chair is preferable.
Q: Can I skip armrest adjustments if my chair doesn’t have 4D armrests?
A: You can, but expect more shoulder or wrist discomfort over time. Using external wrist rests, desk pads, or a mouse designed for ergonomics can partially compensate, but armrests with height, width, depth, and angle adjustments are ideal for long-term comfort.
With this practical, measured approach to ergonomic setup, you can create a workstation that truly supports your body for the long haul. Spend 10 focused minutes with this checklist, and you’ll be set for pain-free productivity—no gimmicks, no hype.
Related reading
- Maximizing Workspace Productivity with Chairwise Ergonomic Solutions
- 37. Lower back pain at your desk: the three fixes that work
- Tips for Setting Up an Ergonomic Workspace with Chairwise Products
- 39. How to sit for 8 hours without wrecking yourself
- How to Set Up an Ergonomic Standing Desk at Home
Our picks worth a closer look
- 750lbs Big and Tall Office Chair with Wide Thick Seat Cushion,Ergonomic Mesh OffCheck on Amazon → — see current price and specs.
- NOUHAUS +Posture Ergonomic Rolling Office ChairCheck on Amazon → — see current price and specs.
- Autonomous ErgoChair Pro Ergonomic Office ChairCheck on Amazon → — see current price and specs.
- Big and Tall Office Desk Chair 500lbs, Ergonomic Heavy Duty Mesh Desk Chair, ExeCheck on Amazon → — see current price and specs.
- Ergonomic Office Chair, High Back Desk Chair with Flip-up Arms, 300 LBS Mesh ComCheck on Amazon → — see current price and specs.